

YHSublime
-
Posts
18,522 -
Joined
-
Last visited
Content Type
Profiles
Forums
Gallery
Events
Store
Everything posted by YHSublime
-

schg's Ultum Nature Systems 45u nano
YHSublime replied to Schg's topic in Dedicated Tank (Build) Forum
awwwwww yeah! -
New member with new 125 tank
YHSublime replied to DougM's topic in Welcome to WAMAS: FAQ / FYI / Hobby News
Hey Doug, welcome. The easiest way to do this is to get a top off container to fill with RO/DI water, and an ATO (Automatic Top Off.) This will have a sensor, or a float valve (or both) and it will automatically add freshwater in as it evaporates. My ATO container is approximately 4 gallons on a 22 gallon tank, and I have to fill it up every 3-4 days or so. It's a pain in the neck, but it's all the space I have for that tank. My 11 gallon tank has an ATO container the same size as the tank, and I rarely have to fill up that container. -
Alright, ramblings, and questions for WAMAS! Thanks to the help of @monkiboyI have some super clean plumbing. These Milwakee sheers/cutters are dynamite! As @howaboutmenoticed, the plumbing could not be any simpler, however, I have some questions about keeping things tidy. I am using tubing on my return, and my return pump is located at the far end of the peninsula. Currently it's "pigtailing" but I'd like to hang it directly from the top of the stand and cut it down a few feet. I'd rather not drill into the stand top (bottom) of the top. I'm thinking about using the same stickers that come with MP's and zip ties, thoughts? I've been "cycling" rock downstairs in a tub, but I have not been feeding it regularly, so I don't think it's really completed a cycle. I took the water from the tank and used it in the 80, with a bunch of NSW, as well as water from my tanks from water changes. It's just water, no heater, and I've started to get a layer of algae on the glass. When I swap the tanks in, I'll be taking the nano and just swapping it right into the 80, same bio load, same rock, same fish, just more space. - Should I add the fresh rock into the 80 and cycle it before transferring? - Should I transfer and then add the rock into the sump and let the nano season it? - Should I just transfer the nano over rock and all and not worry because I'm just adding quadruple the water volume with the same bio load? I intend to match up the water exactly before the move. The other thing I have yet to determine is what I am going to do for an ATO. My current ATO could fit under the stand, but I think I'd have to refill it every second day. I will have to come up with something either in the basement, or on the side of the tank.
-
Alan's 180 Reef Tank (feedback welcome)
YHSublime replied to Beefcake's topic in Dedicated Tank (Build) Forum
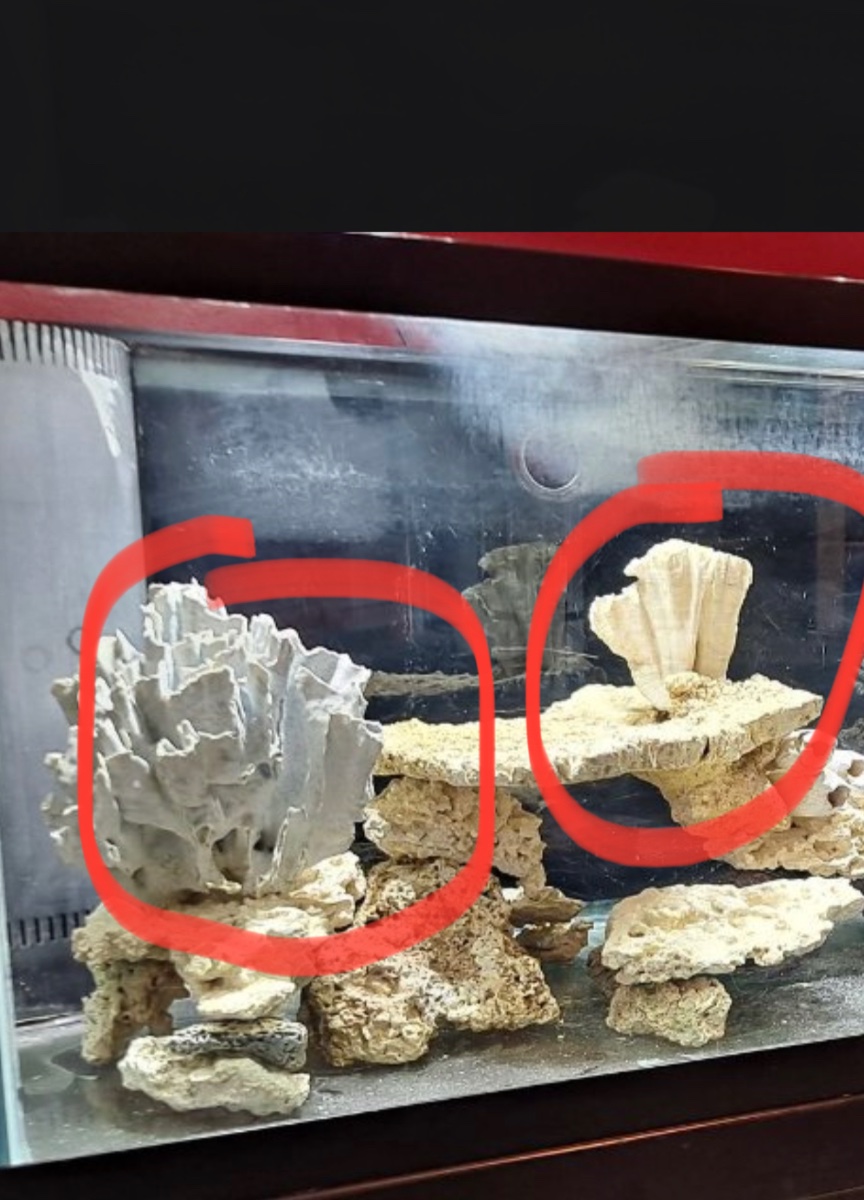
Are you set in using these pieces? They seem unnatural, and won’t be much good for coral placement, imo.
-
Howaboutme's Return - Waterbox PM15 UNS 75s
YHSublime replied to howaboutme's topic in Dedicated Tank (Build) Forum
Looking great! Def harder to keep parameters in a smaller tank! -
Patti!
-
schg's Ultum Nature Systems 45u nano
YHSublime replied to Schg's topic in Dedicated Tank (Build) Forum
Looking good. I just got a smart strip this year, and by that I mean just a wifi connected one. It's perfect, and you can set timers on each outlet without having the bulkiness of the manual ones. -
Yup, zero elbows, just straight drop I wanted to do it that way so I could cantilever the sump off the back, only by about 5", but it saves me space in the front of the stand. Haha, that's why it's there. Although, while setting up and moving, it was primarily a beer ledge.
-
Thoughts on this nonsense?
-
The miter saw works great, but it's messy, and it's a beast to bring out for what's a relatively small project. Luckily I've been working on new deck boards, so everything is setup. It would be nice to do right by the tank instead of having to walk in and out. There is a solution in play!
-
@Yachaq
-
Slowly. I'm an idiot putting it up against the wall and putting water back in it without having done the plumbing. I thought it was going to be straightforward, but it never is. Took out the miter saw per Abe's wonderful suggestion, and am very close to having it all together. I do have an abundance of unions, and I'm debating if I want to set them up for giggles. That's a really great idea. I can't believe I didn't think of it first. What if I just keep sliding them down the wall and going a little taller for the 300? I could just silicone them all together and make a waterfall saltwater tank. Each one just a little taller, wider, and longer. Then giant funnel in the basement ceiling that just aerates all the water that gravity feeds via cyclone into a sump/fuge in a 300 gallon rubbermaid tub in the basement with a saltwater croc. I still need to figure out what to do for a top off and dosing pump location.
-
Thanks! Well, now that you said that, I just realized I can use my miter saw, lol!
-
Lots of big moves happened over the weekend. I should have been better about documenting, but this will have to do. @Ben A finished up the stand top, although not with the dramatic live edge piece we started with. After cutting the original piece of oak in half, it dramatically bowed out. The replacement boards are really nice, with knots and athletically pleasing grains on the 6" of ledge on either end. Love me a good ledge, and nice thick top. Weighs in about 60lbs. I spent a lot of time thinking about how I didn't want to plumb, fill up with water, and tank transfer two tanks all in one day, so tried to figure out what was going to be easiest. I realized, I am one of the luckiest reefers in the world, I have the ability to keep my nano setup, and can take my sweet time getting the 80 ready. With the help of @Alex Simpson, I slid the nano about 5' down the room after draining all the water out. We hooked the lights back up, and then went to getting the 80 back together with the water back into it. I'll take my time plumbing it, I have all the pieces, but worried my PVC shears are too small for schedule 80. Once I match up the water, I intend to then do a straight transfer, but for now I'll be comforted by the fact that I don't feel like I had to get it done yesterday.
-
schg's Ultum Nature Systems 45u nano
YHSublime replied to Schg's topic in Dedicated Tank (Build) Forum
Still looks good. Those cutouts aren’t as aggressive as imagined. Looks functional! -
I was going to say a better pic would help. It looks like it's bubbling, or bouncing as the kids would say. Other than that, it looks like a regular blue discosoma,
-
I got it up to 7.6 by end of day yesterday, which is where my tank has been running for the past year. Keep in mind, when I had my water tested accurately, I was almost a whole point lower with my readings, so the reality is, I'm probably running closer to 8.5. The doser is turned back on for alkalinity only, and has been holding at 7.5dKH for the past 30 hours. My calcium is still reading at 500 on the nose, but I'm not terribly concerned on that front. Now that things are leveling out, and getting brought up, I imagine I will see an uptick in growth as well, fingers crossed.
-
I’ve used epoxy or super glue in the past. Best advice I can give is as soon as you can, deal with it. I chipped a piece of monti off my rock, and from a microscopic polyp it grew back. I kept saying “I should get to that soon” and now it’s a colony.
-
So over the past two days I've managed to get it up to a sliding scale in between 6.3 - 6.9 just manually dosing for Alkalinity only. I'm going to put the doser back online for alk only to hopefully push me over into the 7's, then tomorrow right up to 8. Might as well use the tools I have. The amount I'm manually adding in seems aggressive, and wildly irresponsible as I'm eyeballing and taking readings every 3 hours. Good news is I can finally read Calcium on the salifert, 490. I'll test this daily once I get to around 450 will start adding it back into the mix. Nearly back on the right track.
-
schg's Ultum Nature Systems 45u nano
YHSublime replied to Schg's topic in Dedicated Tank (Build) Forum
I wouldn't brace, personally. I also would probably only route one side with holes, and at half of what you've mocked up (towards the back of the tank.) -
schg's Ultum Nature Systems 45u nano
YHSublime replied to Schg's topic in Dedicated Tank (Build) Forum
I vote you drill it. Looking good, and like the addictions taken ahold again! -
I reckon this is probably part of it. I can space them further apart as needed, looks like standard is 5 minute intervals. Probably too close, but hasn't been a problem until now. I'm planning on being one with the tank for the next week, 1. While I get my levels corrected, 2. When I get the doser turned back on. I don't believe there is a way to calibrate this brand, just keep it smooth. That being said, taking recomendations on creme de la creme dosers. Do I need an APEX to run a DOS? I've been eyeing GHL dosers as well. I should be setting up the 80 next week, so I'll want to match everything up before I swap everything out.
-
The bubble magus automatically calculates the daily total volume allocated over 24 hours (can do less time, but more is best I believe.) I’ve been doing 40ml a day of each solution. This is a recent buildup. left to right, correct. I’m going to drop the lines into the return chamber once I get this ship righted. sure is!
-
Holy precipitation, Batman! I don't think this has been going on for long, but I went to go take everything apart and clean it today and I found this heavy build up. Could it be I'm not spacing my dosing out far enough, or that it's a particularly low flow area in my sump? Again, I believe this problem is recent, it does however, require a solution. So here is now my new plan of action now that I've cleaned up the doser/serviced, and tubes: Turn my doser off Manually dose for alkalinity until I reach 8.0dKH Water change once I do Wait to level out my calcium Turn doser back on again and move delivery into a higher flow area of my sump.
-
It seems somewhere along the line more calcium is getting into my tank, it's not always been this way, but looks like it's time to clean the lines and grease up the rollers, as they are both programed identically. This is a big explanation of the lower alkalinity levels, and I tested my Calcium this morning, it's over 500, didn't register on a salifert test. Magnesium is 1450, so happy with that. At 55ml a day of solution I'm holding at 5.7dKH. This is going to be a little bit more of a pain to remedy, as I'll have to track calcium here as well, but so be it. Here's my plan of action: Service doser grease rollers replace tubes resume dosing regiment sans calcium track daily Return to a 1:1 schedule once numbers level (or whatever the tank might be after these days)