finaddict
-
Posts
167 -
Joined
-
Last visited
Content Type
Profiles
Forums
Gallery
Events
Store
Everything posted by finaddict
-
From the album: Aquarium Pics
-
From the album: Aquarium Pics
-
From the album: Aquarium Pics
-

From the album: Aquarium Pics
-

From the album: Aquarium Pics
-
From the album: Aquarium Pics
-
From the album: Aquarium Pics
-
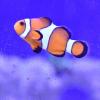
So I finally moved from the 36 to my new 75 last weekend. I used new sand and mostly new pukani rock. The rock had been curing in heated circulated trash cans since march 26th so I hope to avoid any extra cycle problems. I moved my corals and fish and some rock to bins and filled them with the old tank water and threw in a heater and pump. Broke down the old tank and set up the new. I had about 75 gallons of newly made saltwater heated and ready to go. I put the cured rock in, 40 lbs of new sand ( no old sand transferred)and filled the tank with water. I put some old rock (only about 5-7 lbs of old rock) and returned my corals and fish to theDT. I used the old tank water to fill my sump (I was careful to match salinity and temp). Turned the system on and it has been running great. Everyone seems happy and about two days ago I started getting the brown diatoms on the clean rock surfaces. I am hoping this is caused by the new sand. I am sure the diatoms will be gone in a week or two but I have anxiety about what other nuicence algae blooms I am gonna have to deal with!
-
Here is the thing. As I unscrew the cap the water begins to flow out since the plunger is in the down position. If I were to unscrew it and grab the plunger the event would already be over as the returns would have drained out the side with the cap...and a gallon of water with be on the floor. I think the shop vac is the way to go here. Hopefully I get enough time to try it today.
-
So the valve is brand new. This is the first tank with a sump that I have built so I connected it all up and ran it in my garage for two days to make sure my plumbing didn't leak. Now I have drained the tank and sump and i am ready to move it inside. I think the shop vac idea is a good one... as long as I get most of the water out of the two lines I should be fine.
-
I put in the valve as an extra layer of protection in case my pump dies. I believe my sump would handle the extra water if it did reverse siphon but why bother hoping? This tank will be in my carpeted family room so I just put a valve in place. Since the plunger is in the down position ( the pump is off), if I unscrew the cap to grab the plunger all the water comes out!
-
I just drilled my first tank about two weeks ago. It really is as easy as everyone says. Watch a few YouTube videos and drill away. I was nervous but everything turned out fine. Also you should plan your plumbing before you drill... things like return lines and whether or not drill for them too is important.
-
The cap does unscrew but the plunger is in the down position because I shut the return pump off. Therefore if I unscrew the cap the plunger is still in the down position and the water flows out where the cap was unscrewed. I will take a picture tomorrow to show you.
-
That is the valve I have. But once you turn off the return pump the water reverses direction towards the pump and closes the valve to prevent the re erase siphon situation. That is the state it is in now but I want to get the water out of the pipe to move the tank. I put in the valve as an extra layer of protection in case my pump dies. I believe my sump would handle the extra water if it did reverse siphon but why bother hoping? This tank will be in my carpeted family room so I just put a valve in place.
-
They unscrew and let a torrent of water out when you do that. I gotta find a way.... the only thing i can think of is to run a wire snake up the pipe to move the plunger up and let the water drain into the sump. Major pain in the butt
-
How do you drain your return lines if you have a wye check valve? I am trying to drain my tank to move it and I cant get the water out of the return lines?
-
My esk75 hob skimmer is not acting right... I can get it to foam up good by plugging the air tube and clearing the trapped air. When I release the tube it builds up good foam and appears to work fine. A few hours later the foam is gone and the chamber is just turning water but there is no foam? Any ideas?
-
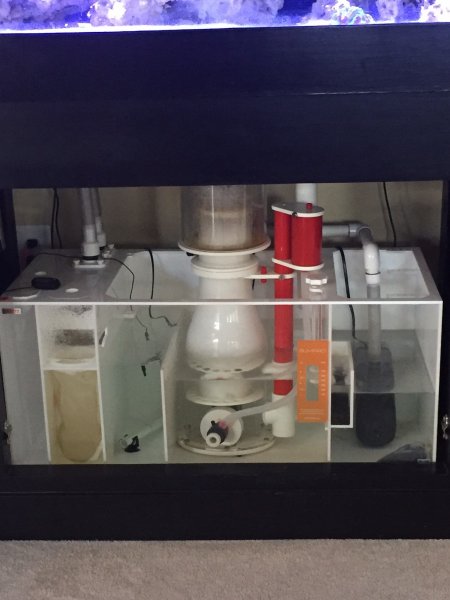
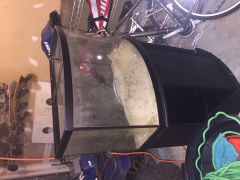
So I went back in and shortened the primary drain pipe inside the overflow box by about 3/4 inch and then seated the u pipe lower. Now the whole u pipe including the hole is barely underwater. The secondary drain is down to a trickle when the primary gate is adjusted. The main gurgling noise is gone but I now have a fair amount of noise coming from the waterfall between the inside the tank compartment,ent and the outside compartment. And I still have a tiny bit of water going through my secondary drain. Should I plug the hole in the top of the primary u pipe and leave the secondary u pipe hole?
-
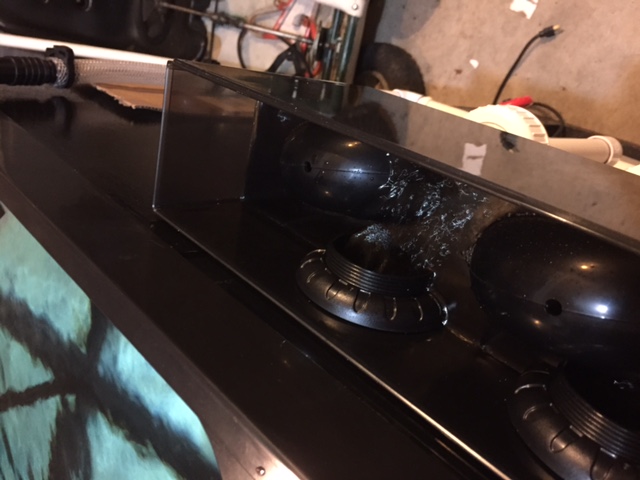
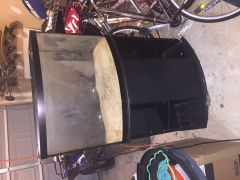
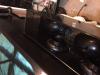
I finally water tested my new tank today and the oveflow is gurgling LOUD... really loud... I have my return pump all the way up and the primary drain is draining a bunch of water (water level not over the siphon hole) and the secondary is also draining a medium amount of water. I have a gate valve on the primary drain line and the secondary drain has flow whether the gate valve is open, medium, or closed. Any ideas on how to make the primary turn into a siphon and get the secondary to stop draining water? Primary is on the right (top of pictures) and secondary is in the middle and emergency is at the bottom in pictures.
-
From the album: Aquarium Pics
-
From the album: Aquarium Pics
-
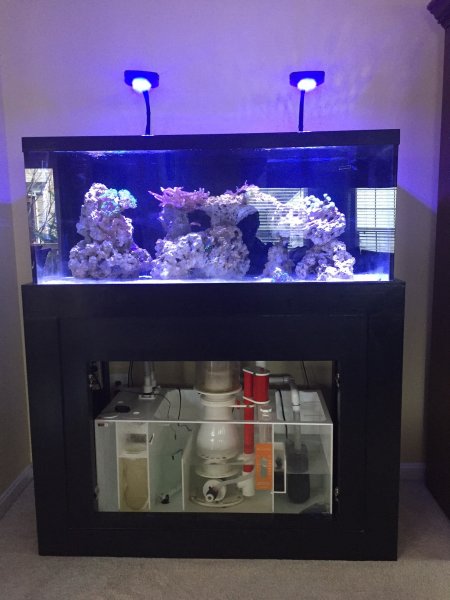
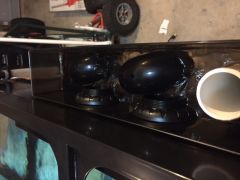
So the third and fourth coat are on and it looks much better. I also changed from a high density foam roller to a premium foam roller that wasn't so dense and it worked much better.... the regular foam roller allowed a much heavier coat of paint go on. There are still thin spots so I will do at least one more but whenever I am happy I will apply another coat just to be safe. I think it is time to create a build thread since I am finally taking action after planning this tank for months.
-
Well ended up over out with friends and now I am tired so the final 2-3 coats will wait until tomorrow.
-
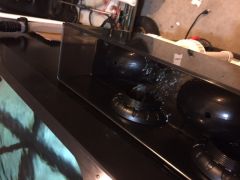
Two 63mm holes have been successfully drilled... Test fit the overflow and it fits perfectly. Only complaint are some very minor chips around the holes but you will never see them nor will they effect the operation. I bought rustoleum glass black paint and it looks horrid.... first coat is thin and dried quickly which is what I wanted but the second thicker coat looks equally bad... I will paint another coat and hope it turns out better... right now it is very transparent and streaky.... more to follow in 90 minutes or so! I suspect it will take 4-5 coats to maybe make it look decent. I am just not confident that dding paint to the back will improve the inside appearance. I hope I didn't blow it here..........
-
Alan thanks for the explanation... that makes perfect sense and it is how I will do it today. The only difference is I plan to roll on the black paint but I will make sure to tape off the area around the holes as you described. Thanks