Kevnjeep
-
Posts
289 -
Joined
-
Last visited
Content Type
Profiles
Forums
Gallery
Events
Store
Everything posted by Kevnjeep
-
Sorry not a lot of posts I'm taking this one reeeaallll slow. I've been fine running everything for the past two weeks not much change. I'm getting my apex tonight!!! So I'll be setting that up for the first time. Wish me luck
-
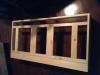
Here is the light bar from the top before paint and crown molding. Here is a dry fit Another dry fit pic


-
Thanks
-
Sorry for the grammar errors.
-
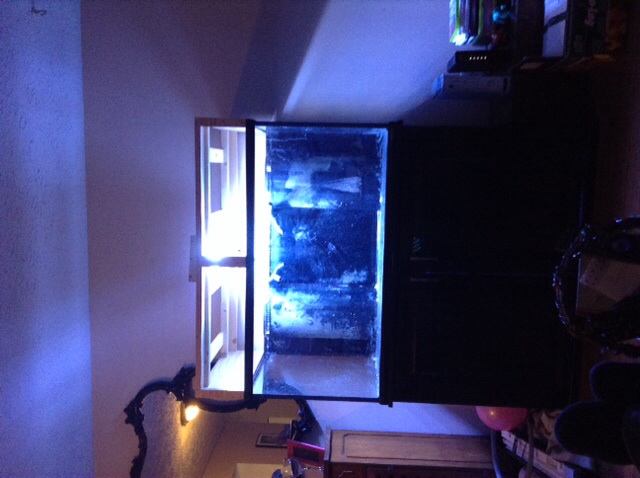
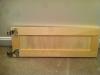
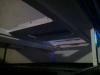
Lol sorry. My daughter took my pad which had the build pics on her sleepover so I only have a few finish pics. I'll upload the rest at a later time. Here's the pics of the hood doors before sanding and paint. I used 1x2 to build the outside frame than routed out a channel in the center 1" deep and 1|4 " wide. I than took a piece of 1|4 plywood and cut it to size and inverted it into the 1 by. I than clamped and glued everything tight. Next I added a piece of 1|4 " fancy trim on the inside panel to give it some design. I that. Filled all gaps sanded and painted. Here is the inside of the hood. As uyou can see everything is painted white to help reflect the light. Also you can see the light bar I made out of 1by. My two other lights are on back order for another few weeks so I only have the one installed in the center. Here are the pictures of the full setup. Everything was built out of 1by and trim screwed together. I filled all holes so there will never be rust. I will add other pics later of the build. If you have any questions feel free to ask.


-
Hoods all finished I'll be posting pics soon
-
So it looking like snow Thursday so I will be building my hood!!! If any one has any ideas or input I would greatly appreciate it.
-
Yea I repainted everything befor I put the tank on. How did you get the back of your 120 like thar
-
Thanks Ill look into it
-
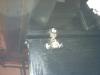
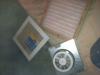
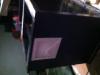
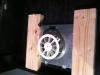
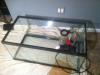
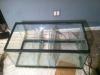
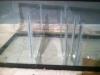
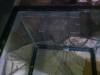
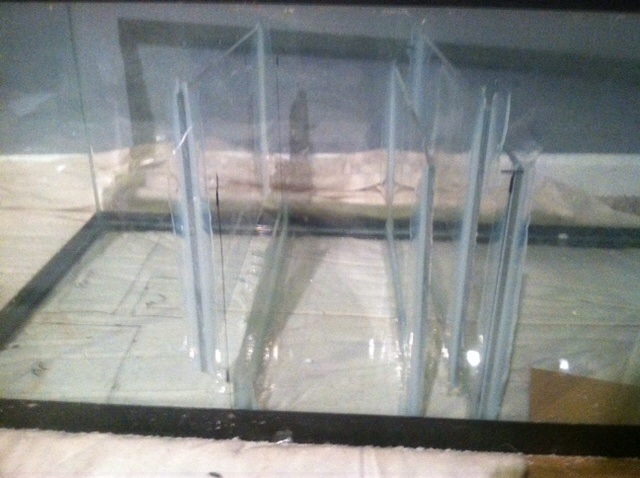
Hey guys I started building my 120 gallon rr oceanic tech tank. I am taking this one nice and slow to make sure everything is done the way I want it. I will be updating regularly as the build continues. Please feel free to ask questions and give suggestions. Here is the first group of pics Here are the hinges that came with the stand (used) Here are the new soft close hinges I installed Here is the new hardware I installed I decided to install a bathroom vent fan on the side of the stand to suck fresh air into the stand. I used a filter to stop bad fibers getting sucked in. And I used a bathroom fan because of how strong/quite they are. The above pic is what I used and the next few pics are of it installed Here is the 40 breeder I am using as a sump. I first drew what I wanted from the sump on paper than measured and drew In marker on the tank where the baffles we're going to go Here are the baffles installed I cut the thickest plexiglass I could find on my table saw as tight as I could. Then I used reef safe 100% silicone. Since I cut them so tight I didn't need to use blocks to hold up the bubble trap. Everything sealed perfect. The far right is the intake, skimmer and Kalk reactor, second is a fuge and third is return, ato , bio pellet, and carbon reactor. Here I cut out 2 4" squares out of one piece of plexiglass for my filter socks. Here is a pic of the socks installed (well one of them) Ias u can see the pipe goes down into the sock. But because of how I cut out the squares the pipe holds the sock in place and I can still remove the sock. (This happened by accident but love it Here is an over all sump pic Next will be the hood build